
Overview
In Part-1 we looked at the set-up required on AWS to prepare for the import of a VM. In part 2 we look at the steps required to be carried out locally at your site to export an ESX VM to AWS ready for import and then the actual import operation itself.
Use Cases
In part 1 I said the most common use case for migrating servers into AWS using these tools is the migration of test and development servers. I say that because the technique takes a view of a server at a point in time and the server should not be in active use. Often that is not so easy to do with production servers. As you are probably realising initial process is somewhat long winded. A lot of the required AWS actions are not available in the AWS console and, as you will see, we have to execute them using the AWS CLI which you have installed on a system local you (A Windows 10 VM in the case of this article) Notwithstanding all that if you are going to migrate a reasonable number of VMs into AWS you should check out Amazon’s Server Migration Service (SMS). SMS provides a much greater degree of automation and it is a (semi) on-line migration method. You can read my article about SMS here.
How does it work?
We have already completed the basic AWS setup. In the VMware environment we need to create an OVA for each VM we want to migrate to AWS
Exporting your VMware VM
OVFs and OVAs
There still seems to be reasonably wide spread confusion about the difference between OVF and OVA so a few lines of explanation may be in order. OVF is the “Open Virtualisation Format”. It is an open standard proposed and supported by a number of Vendors including VMware. The standard allows VMs to be exported from and imported to Virtualisation platforms from different vendors. What the standard defines, roughly speaking, is what standard files need to be produced to define a VM. These will include one or more virtual disk images plus some other files including a “.ovf” file. The ovf file is an XML file that describes the VM in a vendor neutral way so that the VM can be re-created on a different (or the same) virtualisation platform. So OVF defines a set of files that describe and provide the data to create a VM. An OVA (Open Virtual Appliance) file is simply all of those OVF files bundled together in a tar archive. OVAs are, by their very nature, easier to deal with and distribute because they are a single file rather than a collection of files
Reconfiguring your VM prior to export
Prior to exporting your VM to an OVA you may need to make a few minor configuration changes so that it will re-boot problem free in the AWS environment. The nature of these is such that you may not want to make them to actual VM you want to migrate (at least until the migration is 100% successful) Therefore you may end up snapshotting or cloning the source VM and changing the configuration on the snapshot or clone.
Creating an OVA export
You can export a VM in OVF format as a single OVA file using several tools. In theory the simplest way to do this was to use vCenter to create the export of any given VM. I say in theory because as of vSphere 6.5 the option to create an OVA file has disappeared from vCentre and it only allows you to export the OVF collection of files. I cannot see why VMware have done this but it is what it is. However, VMware has not banned OVA entirely and there are a few tools that you can use to export a VM to an OVA file. Sadly, none are as simple as the previously available point and click interface of vCentre. In this example I will use PowerCLI to complete the task but you could also use VMware’s OVFtool . Step one is to connect to either your vCenter or specific ESXi host using PowerCLI. I am assuming you are familiar with PowerCLI which is a VMware supported PowerShell extension. Here I connect to the ESXi host.
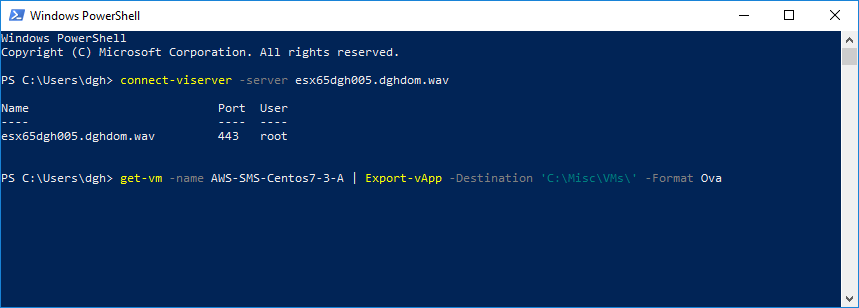
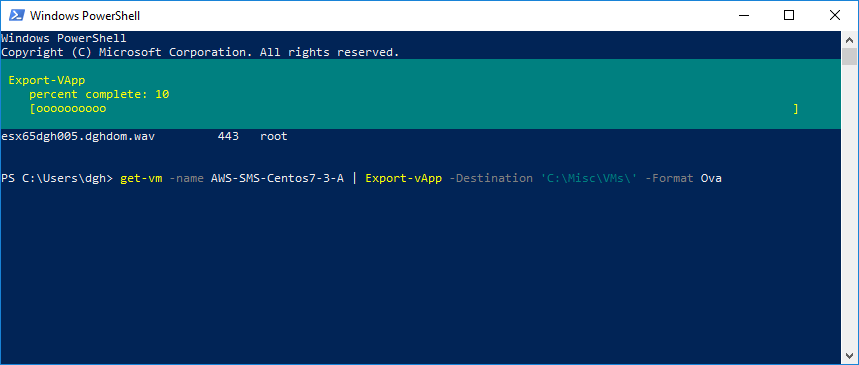
Then I issue an Export-vApp command. Don’t be confused by the name “Export-vApp” it processes VMs as well. Also, by way of explanation, it expects a VM object as input which is why I pipe the output of a “Get-vm” command into it. There are other ways to do this, this is as good as any.
Upload your Source VM export to S3
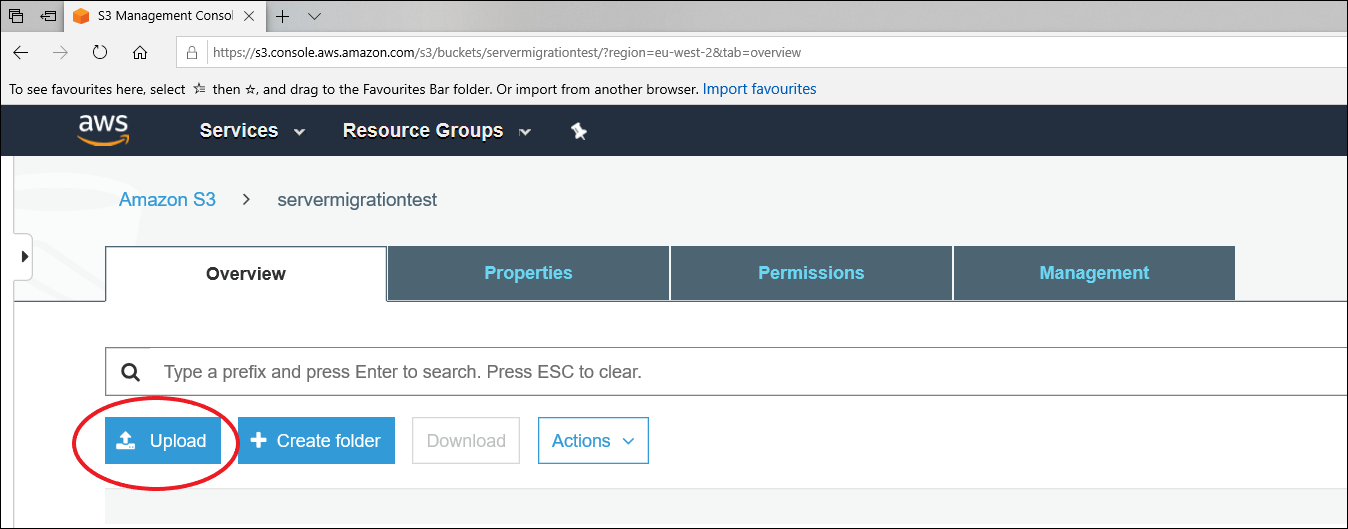
For this article I will upload the OVA file using the AWS S3 Console which I connect to from the Windows 10 desktop that I have the OVA sitting on. Simply log in to the AWS web console and navigate to the S3 section and go to the bucket you have created for uploading. Then click the “Upload” button as shown below
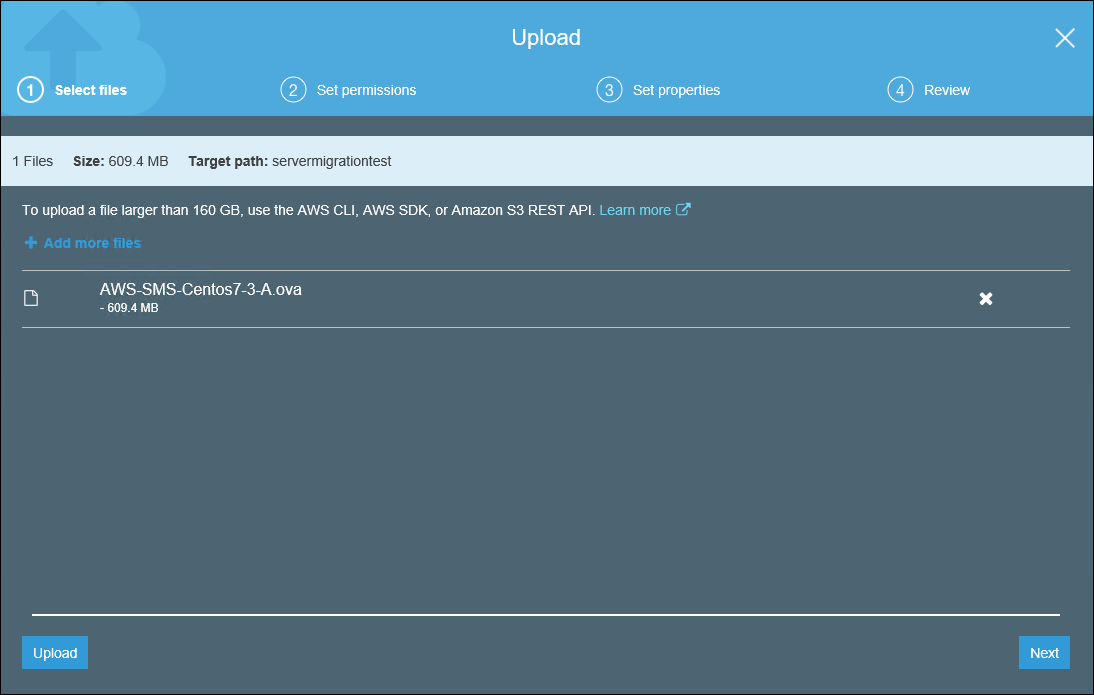
You can then select the OVA file you wish to upload. The interface allows you to build up a list of files for upload but in this case we are only uploading the single OVA file.
Once the upload is under way you can monitor its progress at the bottom of the AWS console screen as shown below

Import the OVA file
Once we have successfully uploaded the OVA to our S3 bucket we are ready to start the import operation itself. You need to create an JSON file which describes the import. You can do this on your desktop system that you are using to manage the import.
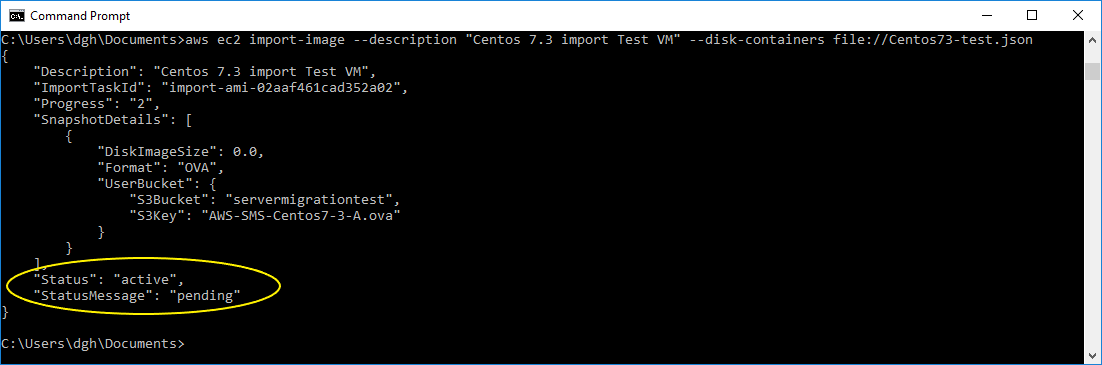
Once you have created it you can launch it using the AWS CLI as shown below
xxx
Conclusions
As can been seen the Import/Export service is one route by which you can get VM images uploaded and running in AWS. There are quite a lot of steps and it is really only suitable for “off-line” migrations. Having said that it does provide a way for you to, for example, get some test and dev VM images up and running in AWS and thereby build your experience