
Introduction
In previous posts I have looked at the AWS VM Import/Export tools and the process for getting a copy of an on-premises VM into AWS. That process is fairly long winded and is only really suitable for servers that can tolerate fairly long outages, such as Test and Development servers. Amazon also provide a tool that will allow you to do an on-line migration. This is the Server Migration Service (SMS). SMS has quite a bit in common with tools such as PlateSpin Migrate. One key advantage is that it is a free offering (currently limited to 50 simultaneous workload migrations). I have recently used SMS to migrate a reasonable number of VMware and Hyper-V workloads into AWS and I will be providing a detailed account of the processes for doing that here in the next few weeks. In part 1 of this post I look at the AWS set-up required
How does it work?
The SMS service works on a series of Snapshots of the source VM at a given point in time. Those snapshots can then be uploaded (temporarily) to an AWS S3 bucket. A key component is the SMS “Connector” VM which is downloaded an installed in either your vCentre or Hyper-V/SCVMM environment
AWS Set-up steps
Create SMS user
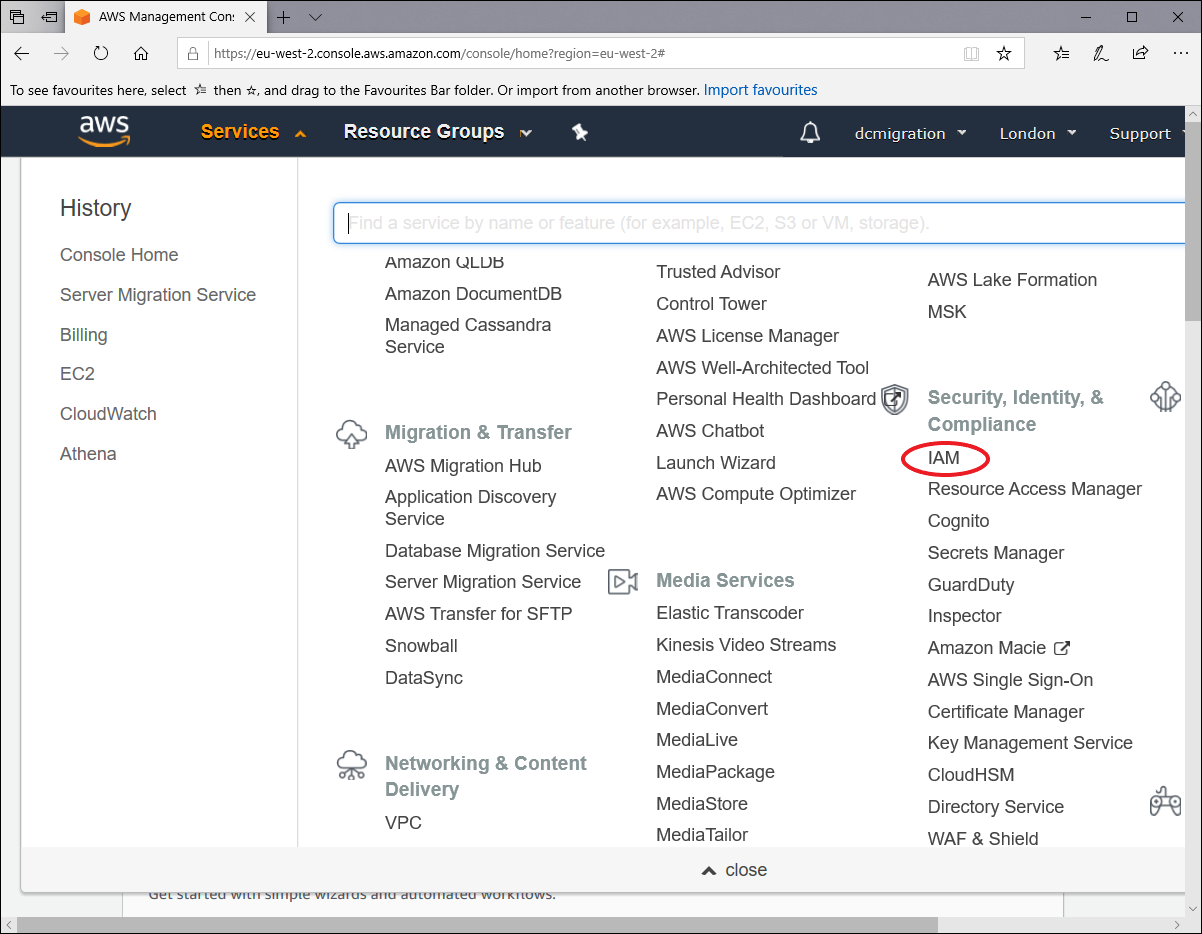
It is good practice to create one or more AWS users specifically for SMS usage. To do this go to the IAM section of the AWS console
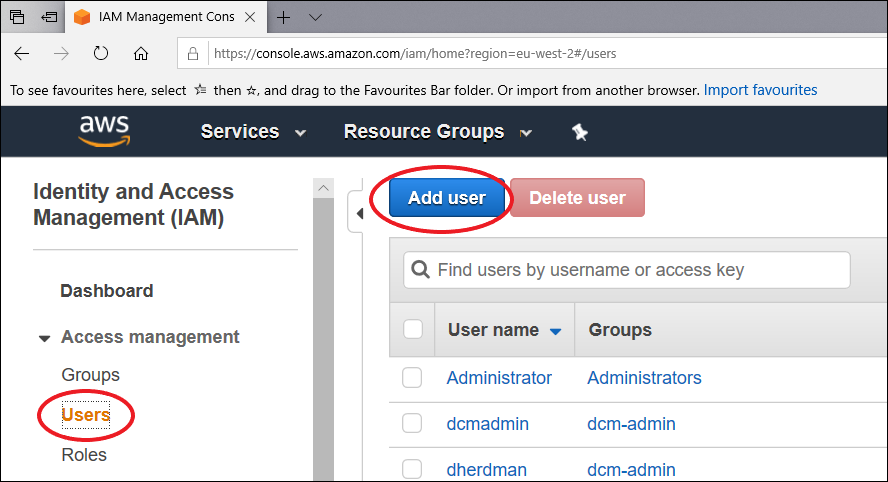
Io the IAM page select “users” and then [Add User]
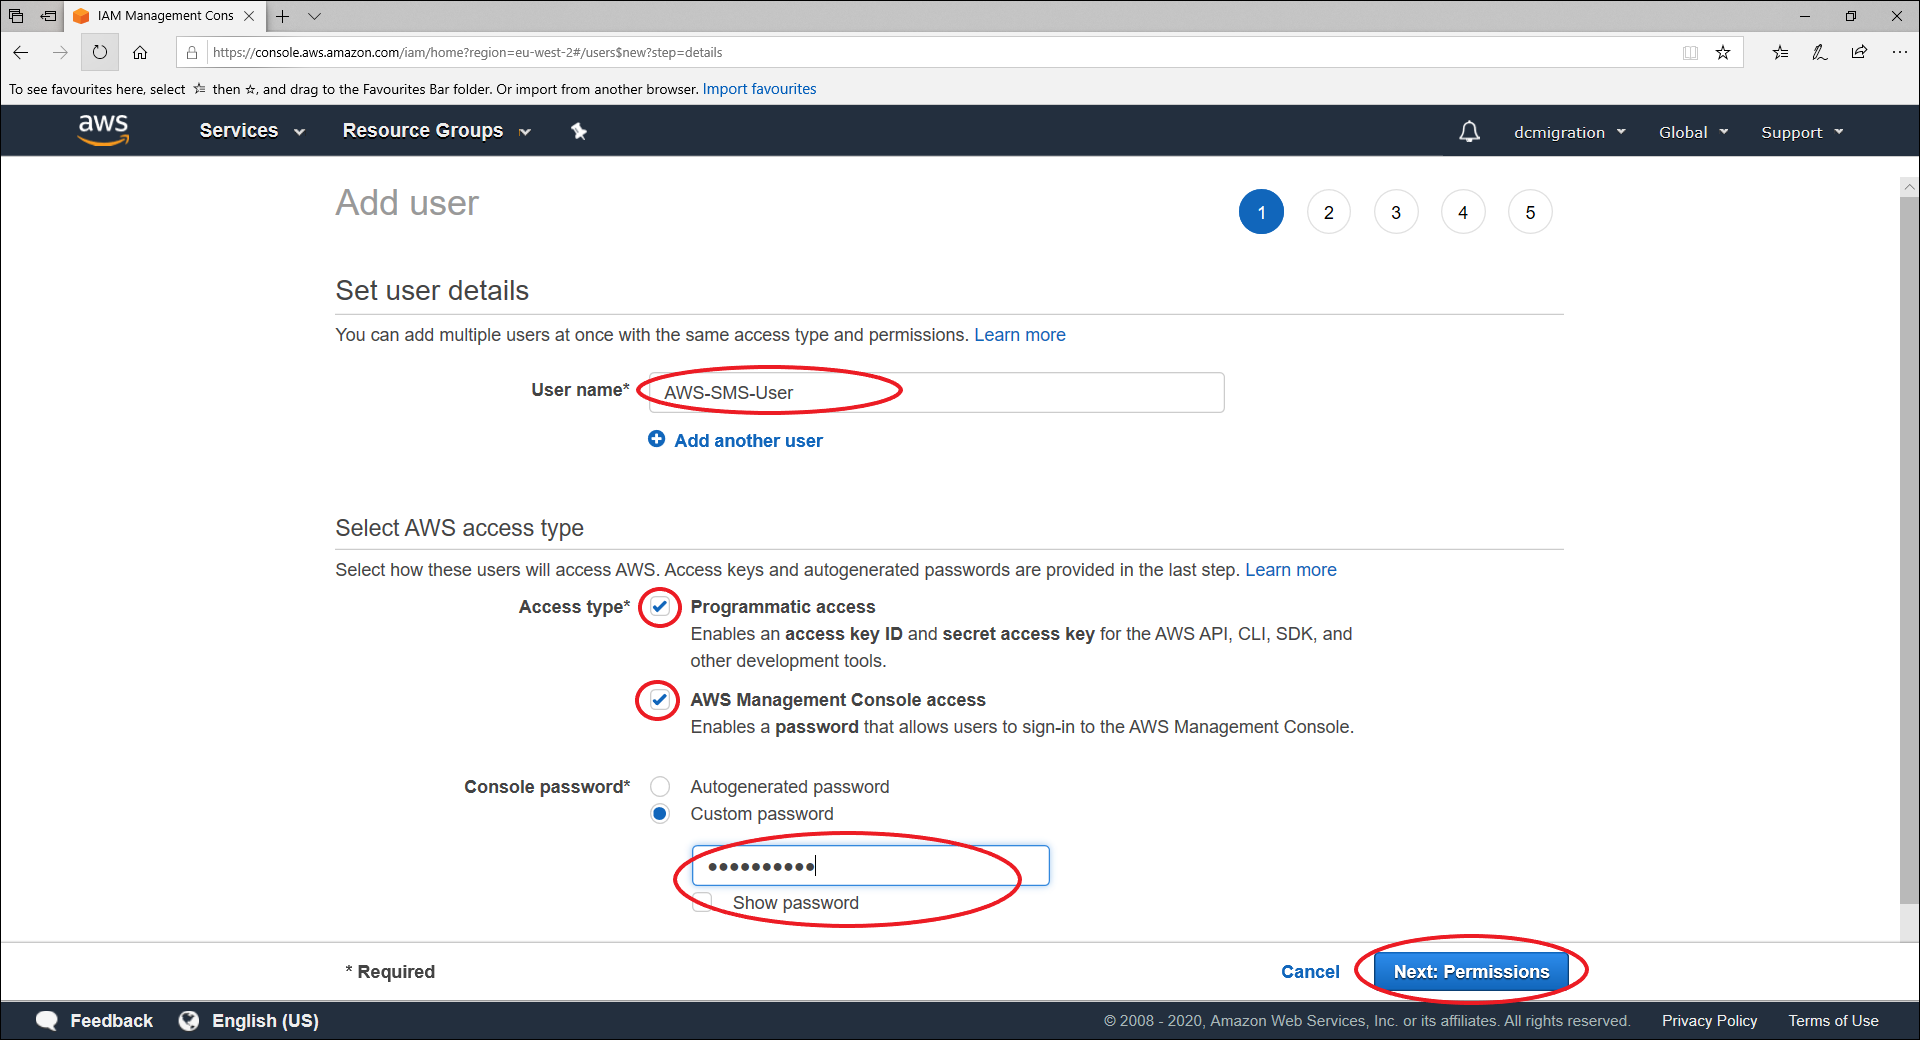
The user name can be anything you choose. Here I am using AWS-SMS-User. I tick the boxes for console logon and for programmatic access. I also set my own password as I can never remember the autogenerated ones!
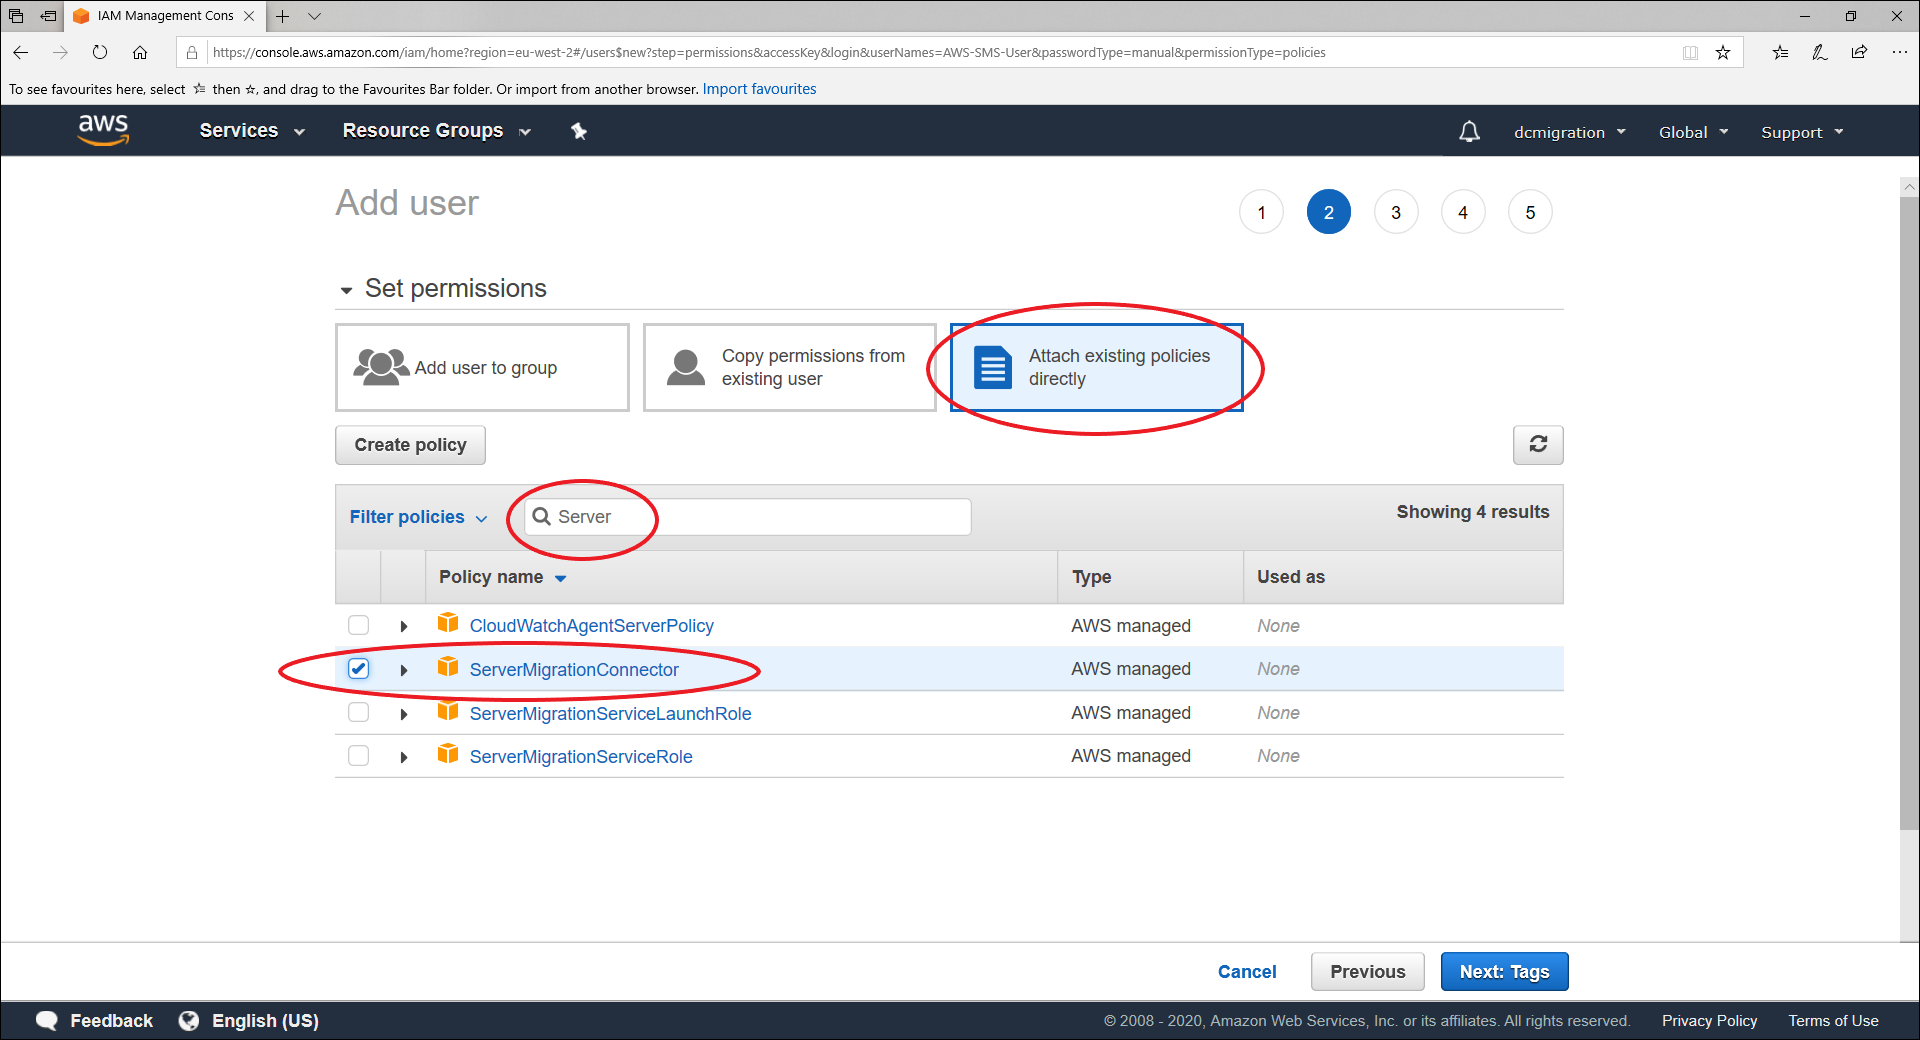
The next step is to grant the user permissions. Here I am going against AWS best practice in the interests of brevity and allocating the permissions directly to the user. Best practice dictates that you assign the permissions to a group and make the user a member of that group. In any effect the result is the same (and it means half a dozen less screen captures for me :-)) So we select “Attach existing policies directly” and search for the “ServerMigrationConnector” policy and attach it to the user.
Once we have done this we click the [Next: Tags] button which takes us to the assign tags page. I am not assigning any tags to this user so I am skipping that page which brings us on to the final “Add User” review page as shown below
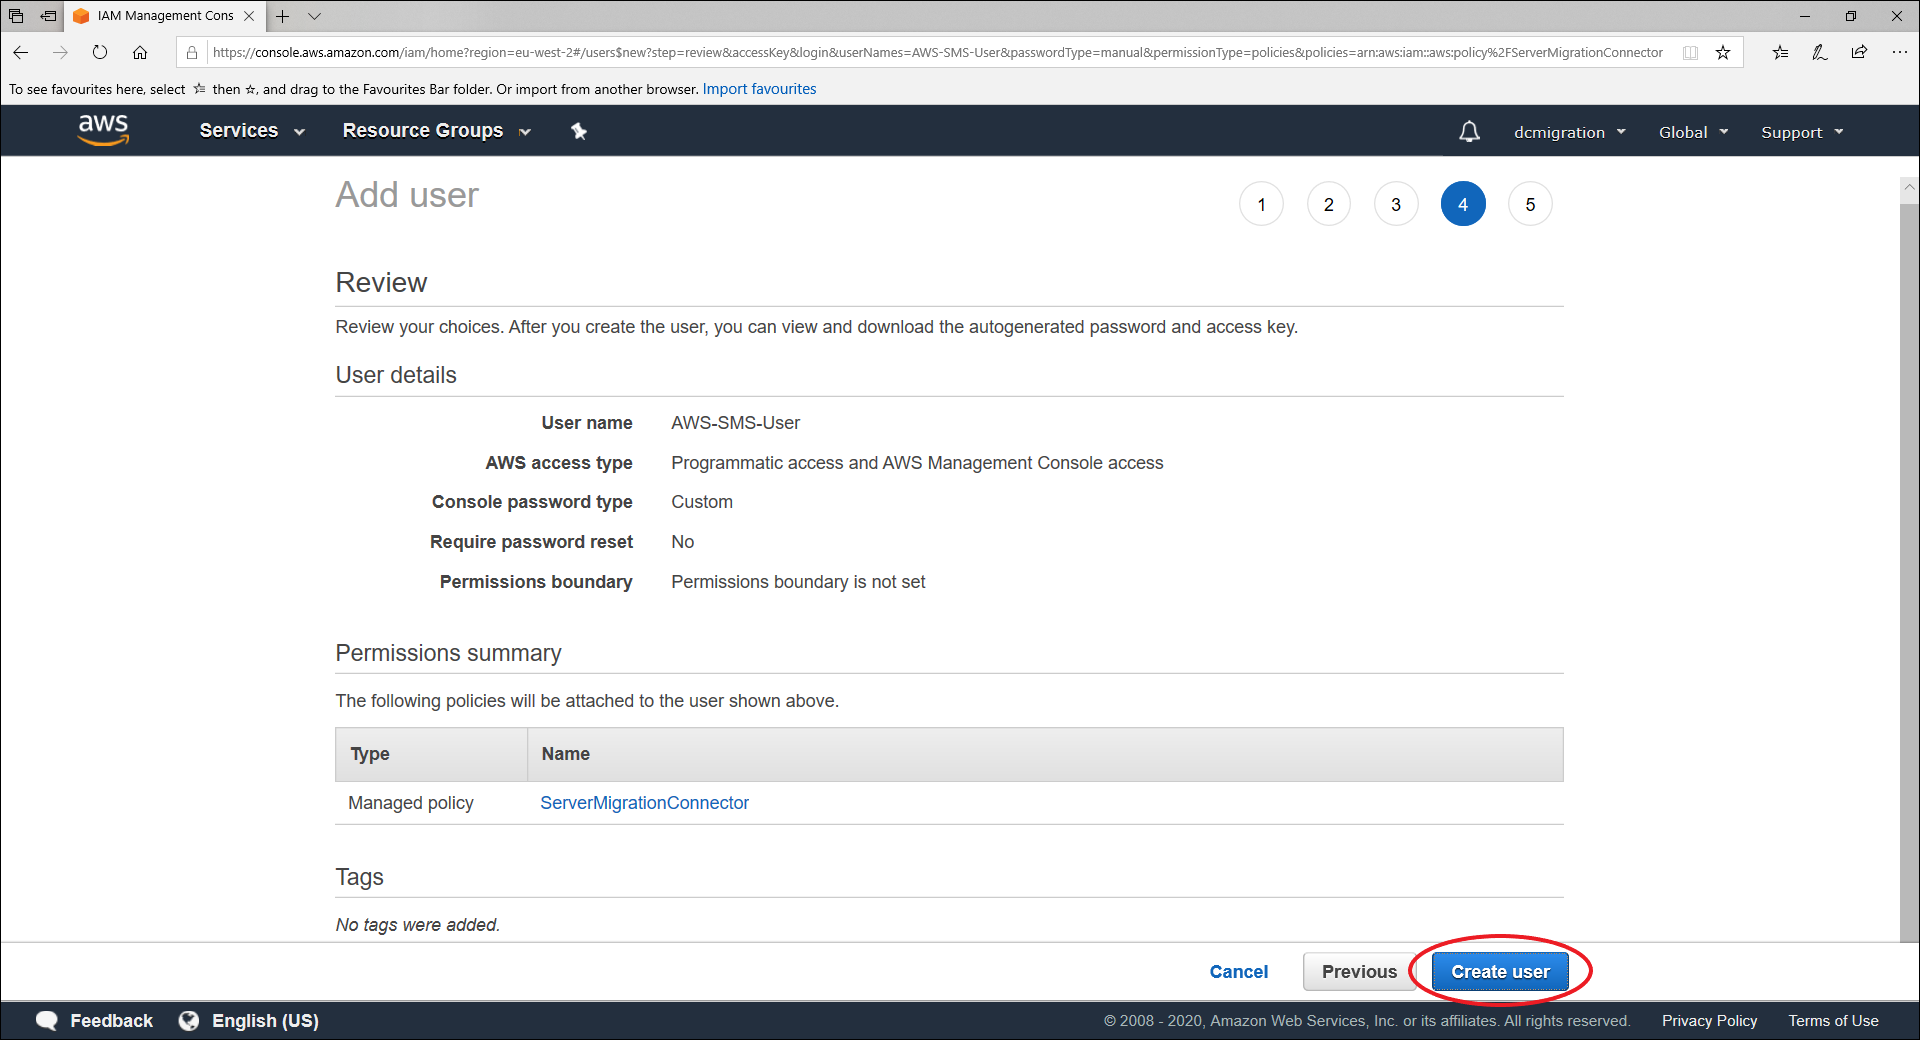
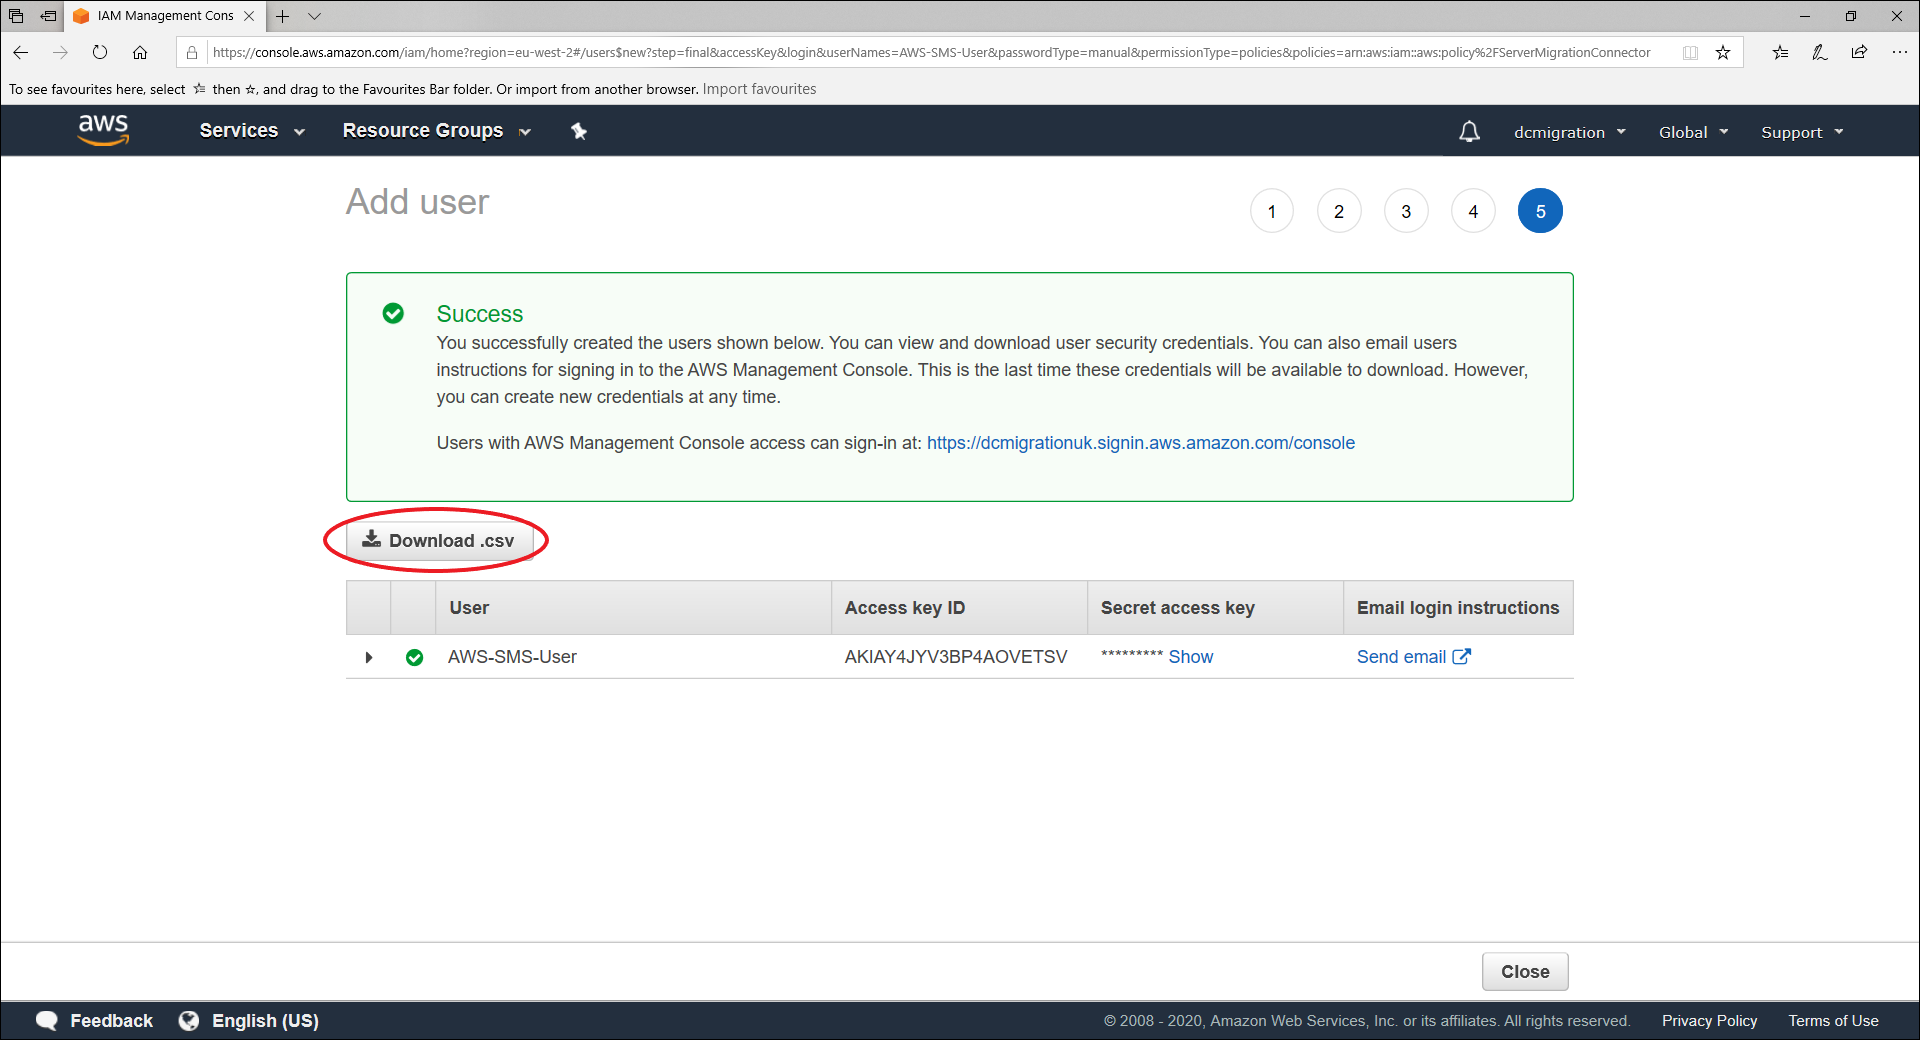
The AWS console will confirm that the user has been created. It is important to note that you can down load a CSV file containing the Access Key and Secret access Key. These are what are used for programmatic access to AWS (instead of the Human user name and password) . You should download the CSV at this point as you cannot go back and do it later (You can regenerate the keys but why not save the hassle and get them now)
Conclusion
That is the basic AWS set up done. In part-2 we look at how to install the connector in a vSphere environment and set up a migration. Part-3 provides the same treatment for Hyper-V